
With caramelized milk, dense crumb and warm cardamom, Milk Cake shows you how traditional techniques create a timeless Indian sweet; you learn clear steps, ingredient ratios and serving tips to master this beloved dessert.
The Heritage of Alwar Ka Mawa
Alwar’s mawa tradition shows you a time-honored skill where slow-cooked milk becomes dense, caramelized indulgence prized across households and sweet shops.
Historical Origins in Rajasthan
Rajasthan’s royal kitchens taught you techniques for simmering milk and sugar into firm, grainy mawa, linking the sweet to courtly feasts and local dairy practices.
Cultural Significance in Indian Festivities
Festivals often have you offering Alwar ka mawa as a symbol of hospitality, gifting its dense sweetness during weddings, Diwali, and community celebrations.
You will notice Alwar ka mawa features in prasad plates, wedding sweet boxes, and as ceremonial offerings; its dense texture signals abundance and goodwill. Sellers hand-press rounds or cut slabs, and households choose saffron or nut toppings to mark occasions. For you, tasting it links familial memory with community identity while local artisans rely on steady demand to preserve these dairy traditions.
Essential Ingredients for the Perfect Texture
Texture hinges on slow milk reduction and precise sugar balance, giving you a creamy, melt-in-mouth milk cake without graininess.
Selecting High-Fat Dairy Bases
Choose full-fat milk or freshly made khoya so you get a dense, rich crumb that holds shape while staying soft.
The Role of Acidulating Agents in Curdling
Acidulating agents like lemon juice, citric acid, or cultured yogurt help you separate curds gently, creating the granular base many traditional milk cake recipes rely on.
You should add acid once the milk nears a boil and stir slowly; measured additions produce tender curds, while excess or late addition can yield bitter whey and a dry finish. Strain the curds promptly, rinse if the tang feels strong, and press lightly before combining with sugar to achieve the right mouthfeel.
Natural Sweeteners and Aromatics
Honey, jaggery, or condensed milk let you control sweetness and moisture; pick jaggery for deep caramel notes or condensed milk for extra creaminess and binding.
Cardamom and saffron brighten flavor while rose water or kewra add floral lift; you should add aromatics sparingly so they support the dairy, and adjust sweetener proportions because jaggery darkens color and concentrates flavor differently than sugar or honey.
The Science of the Reduction Process
Reduction concentrates milk solids and sugars into dense curds; you control simmer, stirring, and edge-scraping to prevent scorching while coaxing Maillard notes and consistent thickening.
Mastering the Slow Evaporation Phase
Patience asks you to hold a low, steady simmer so water leaves slowly; stir often, skim foam, and keep heat gentle to deepen flavor without burning the bottom.
Achieving the Signature Grainy Consistency
Texture appears when casein aggregates and whey separates; you encourage small, even granules by steady, gentle stirring and moderate heat control to avoid powdery or rubbery outcomes.
Grains form as micelles collapse and lactose begins subtle browning; you tune stirring rhythm, pan contact, and simmer length to manage granule size, aiming for a sandy mouthfeel with balanced moisture and no bitter edges.
Critical Temperature Benchmarks
Temperatures guide your stages: low simmer for steady evaporation, higher simmer for faster reduction, and slight carryover on removal; you watch both numbers and texture to time each shift.
Critical Temperatures – Quick Reference
| Low simmer | 80-85°C – gentle evaporation, skim foam |
| Active simmer | 90-95°C – reliable reduction, stir frequently |
| Finish (pull) | Remove a few degrees before target; cooling sets texture |
Measure precisely with a probe thermometer and learn carryover: you pull the pot slightly early so residual heat completes thickening; also use tactile checks-grain size and sheen-to confirm stages beyond raw numbers.
Temperature Tools & Tips
| Probe thermometer | Insert near center for stage accuracy |
| Infrared gun | Surface-only readout; use cautiously for milk skin |
| Visual/tactile checks | Combine with temps to judge grain formation and moisture |
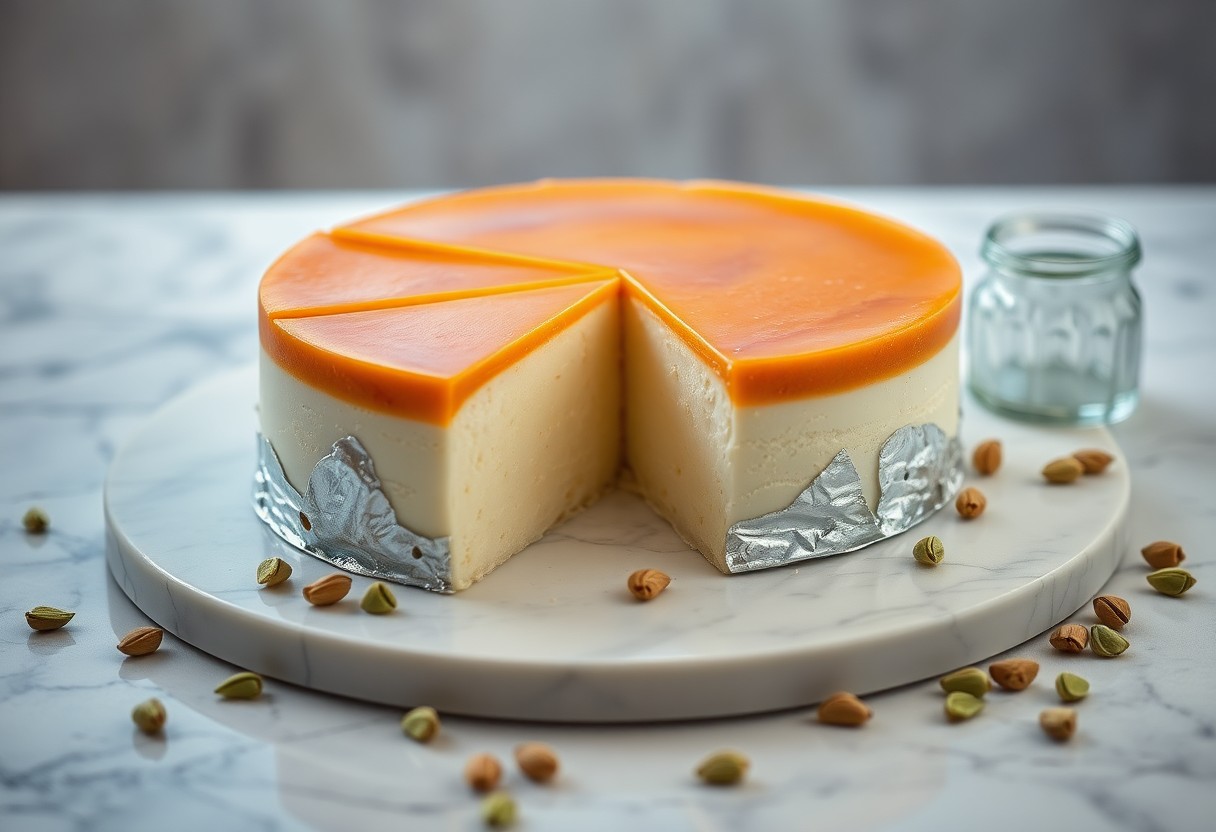
Mastering the Two-Tone Aesthetic
You coax milky ivory beneath a caramelized top by timing the simmer and adjusting pan contact for even browning without burning.
The Role of Residual Heat in Color Development
Heat retained after cooking deepens the top color, so you should allow gradual cooling to continue the Maillard effect without over-darkening.
Proper Insulation Techniques During Setting
Insulation around the mold maintains warmth while setting, helping you preserve the two-tone contrast and avoid streaky color blending.
Cover the mold with a thick towel and place it inside an insulated box or cooler to slow cooling; you should add a light weight for firm, even contact. Avoid cold countertops and check after 30-45 minutes so you can adjust insulation if condensation appears.
Troubleshooting Common Preparation Issues
Facing curdling, graininess, or a scorched base, you should lower the heat, stir more often, and use a heavy-bottomed pan; quick adjustments and constant attention will rescue texture before flavors turn off.
Preventing Scorching and Bitterness
Lower the flame to a gentle simmer, stir steadily, and choose a heavy-bottomed pan so you can avoid scorching and bitter notes; scrape the base frequently to keep milk solids moving.
Correcting Moisture and Fat Separation
If you notice watery whey and oily fat separating, reduce heat and whisk vigorously while adding a tablespoon of warm milk or condensed milk to rebind; continue gentle cooking until the mixture reconsolidates.
Whisking vigorously off the heat while gradually adding warm milk or a little condensed milk will help re-emulsify separated fat and bring the mixture back together. If excess moisture persists, you should simmer on the lowest flame to evaporate liquid, or fold in fresh mawa or milk powder to thicken; then press the mixture firmly into the pan so it sets evenly and slices cleanly.
Modern Adaptations and Storage
You balance tradition and convenience by refrigerating slices, using airtight containers, and offering individual portions; these steps preserve texture and the cake’s caramelized milk richness while making gifting and serving simpler.
Contemporary Flavor Infusions
Experiment with rose, pistachio, matcha, or espresso accents to modernize taste while keeping the classic milk-caramel base; you can also fold in citrus zest for bright contrast.
Best Practices for Shelf-Life Extension
Store milk cake in airtight containers after it cools, layer pieces with parchment to prevent sticking, and chill promptly; freeze single portions for extended keeping and thaw gently to retain mouthfeel.
To maximize shelf life, you should cool cakes completely before sealing to avoid condensation, wrap portions tightly in plastic and place in airtight containers, refrigerate at 4-5°C for up to ten days or freeze for up to two months; thaw slowly in the fridge and warm briefly to revive texture while keeping it away from strong odors.
Summing up
As a reminder you can savor Milk Cake’s creamy, caramelized flavor and craft it at home using condensed milk, sugar, and ghee; you should follow measured cooking and cooling for the classic fudgy texture, ensuring this beloved Indian sweet remains a reliable treat for celebrations and everyday indulgence.
